Leaks, Warps, and Weatherstripping Woes: The Complete Owner's Guide to C3 T-Top Repairs
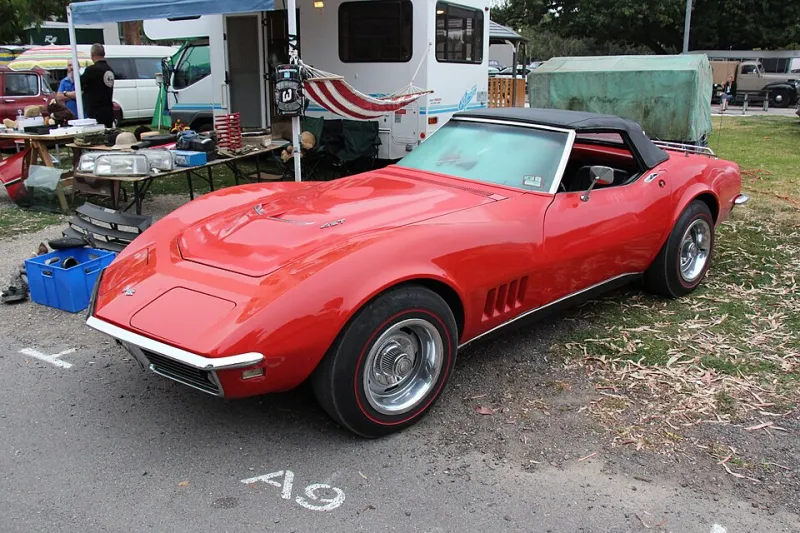
Photo: Sicnag, CC BY 2.0, via Wikimedia Commons
Let's be honest with each other. If you own a C3 with T-tops, you've probably experienced The Drip. Maybe it showed up on a rainy Tuesday morning when you reached into the passenger footwell and found a small pond. Maybe you noticed it during a car wash, a steady trickle running down the A-pillar while you watched in quiet frustration. Either way, welcome to one of the most universal C3 ownership experiences there is.
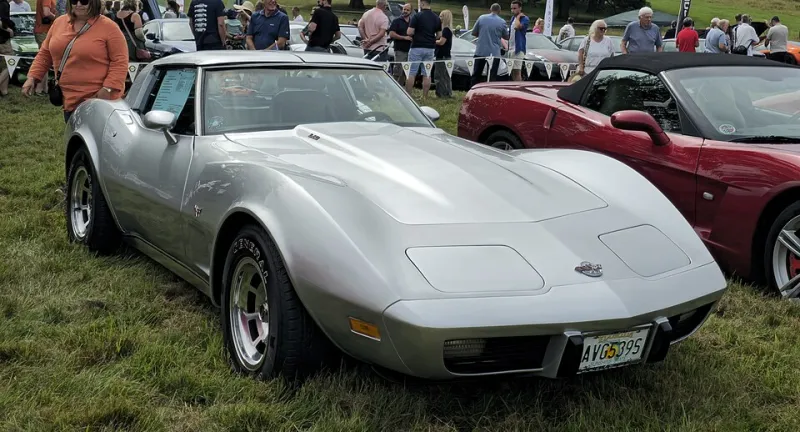
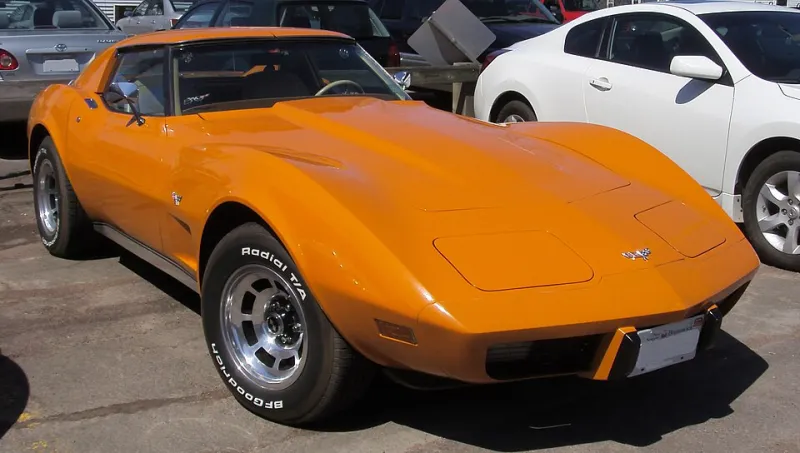
The removable roof panels — whether you've got the original body-color fiberglass tops or later glass panels — are genuinely one of the coolest things about these cars. Open sky, wind, that unmistakable feeling of a semi-open sports car. But they're also an engineering compromise that was never quite perfect from the factory, and fifty-plus years of thermal cycling, UV exposure, and general use have not been kind to the sealing systems holding the weather out.
Here's the good news: this is a solvable problem. It takes patience, the right materials, and a willingness to do the job thoroughly rather than slapping a quick fix on it. Let's walk through it.
Understanding What You're Actually Dealing With
Before you can fix the leak, you need to understand where it's coming from. This sounds obvious, but a lot of C3 owners make the mistake of replacing the weatherstripping and calling it done — only to find water still getting in because they addressed one seal while ignoring others.
The C3 T-top system involves multiple potential failure points:
The primary weatherstripping runs around the perimeter of each roof panel opening. This is the main seal between the removable panel and the body structure. On original cars, this seal has almost certainly hardened, cracked, or compressed beyond its useful range.
The latch mechanisms themselves can be a source of problems. If the latches aren't pulling the panel down firmly and evenly against the seal, no amount of new weatherstripping will fully solve your problem. Worn latch strikers, bent latch arms, or misadjusted components all contribute to uneven panel seating.
The drain channels built into the roof structure are supposed to capture any water that does get past the primary seal and route it away harmlessly. On many C3s, these channels are partially or completely blocked with decades of accumulated debris — leaves, dirt, old sealer residue. A blocked drain channel turns a minor seep into a genuine interior flood.
The panels themselves can be warped. Fiberglass tops especially, but even the later glass panels in their frames, can develop dimensional issues over time. A warped panel will never seal correctly no matter what you put around it.
Diagnosing Before You Buy Parts
Spend an afternoon with a spray bottle of water and a helper before you order anything. Have your helper spray water systematically around the panel perimeter while you're inside the car with dry paper towels pressed against the headliner and upper door frame areas. Work in sections — front edge, side edges, rear edge — and take notes on where moisture first appears.
Also pull the panels out entirely and inspect the drain channels with a flashlight. Run a flexible brush or compressed air through them. You may be surprised what comes out.
Check your latch engagement while the panels are out. The latch should click firmly and the panel should sit flush with the surrounding body when latched. Any rocking or play in the panel when it's latched points to a latch adjustment issue that needs addressing before you reseal anything.
Weatherstripping: What to Buy and What to Avoid
Replacement weatherstripping for C3 T-tops is widely available from Corvette specialty suppliers. Names like Corvette Central, Eckler's, and Mid America Motorworks stock multiple options, ranging from budget reproductions to higher-quality profiles that more closely match original dimensions.
Here's a tip from people who've done this more than once: buy the better stuff. The price difference between a bargain-grade reproduction seal and a quality piece is usually $30 to $60 per panel. Given that you're going to spend a few hours on the installation regardless, it doesn't make sense to cut corners on the actual material.
Look for weatherstripping that specifies a correct durometer (hardness rating) for the application. Too soft and it'll compress immediately and stop sealing; too hard and it won't conform properly to the body surface. Suppliers who specialize in Corvettes will generally steer you right here.
The Installation Process
Remove all the old weatherstripping completely. Don't layer new material over old — this is a mistake that leads to poor seating and continued leaks. Use a plastic trim tool and careful heat from a heat gun to loosen old adhesive without damaging the fiberglass.
Clean the channel thoroughly with adhesive remover and let it dry completely. Any residual contamination will compromise the bond of your new seal.
Dry-fit the new weatherstripping before applying any adhesive. Make sure your corners are mitered or fitted properly — this is often where leaks originate on DIY installations. The corners need to be sealed completely, not just overlapped.
Use a contact cement specifically recommended for EPDM rubber weatherstripping. Apply to both the channel and the back of the weatherstrip, let it tack, then set the seal carefully. Work in sections and don't rush.
Once the adhesive has cured fully (give it 24 hours), reinstall the panels and adjust the latches if necessary. Then do your water test again before declaring victory.
When the Problem Is the Panel Itself
If your fiberglass T-top panels have developed a warp, you've got a harder problem on your hands. Minor warps can sometimes be addressed through careful latch adjustment that compensates for the dimensional change. More significant warps may require professional attention — some restoration shops have experience with fiberglass correction techniques that can bring a panel back into spec.
Some owners in this situation have made the switch to aftermarket glass T-tops, which offer better long-term dimensional stability and the added bonus of being genuinely transparent. Quality glass replacements from established suppliers are a popular upgrade on restored C3s, though they represent a meaningful investment.
A small number of owners faced with truly destroyed tops have opted to go with a solid fixed roof conversion — essentially filling the T-top openings permanently. This is a legitimate structural improvement in some cases, but it's also a significant modification that affects the car's originality and potentially its collectible value. Think carefully before going that route.
Living With It the Right Way
Even a perfectly sealed C3 T-top system benefits from regular maintenance. Clean the weatherstripping periodically with a rubber-safe conditioner to keep it from drying out prematurely. Inspect the drain channels every spring and fall. If you store the car for winter, consider leaving the panels slightly unlatched to avoid compressing the seals in one position for months at a time.
The T-tops are worth preserving. They're a huge part of what makes these cars feel the way they do — that combination of coupe rigidity with open-air freedom. A little ongoing attention goes a long way toward keeping that experience intact without the soggy floor mats.